Building a Firepit, Brick by Brick
May 17, 2010
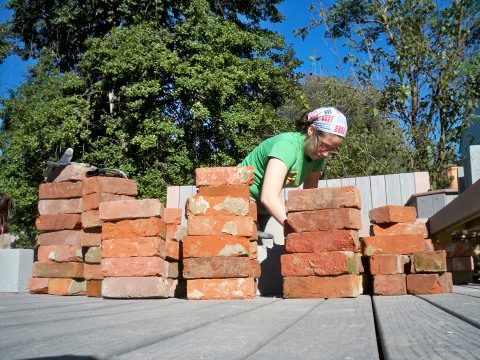
It was always our dream to build a firepit. We had a ton of bricks leftover from when the french doors were put in and thought it would be cool to use them for the firepit. Neither of us had ever laid brick before – we figured it couldn’t be that difficult.
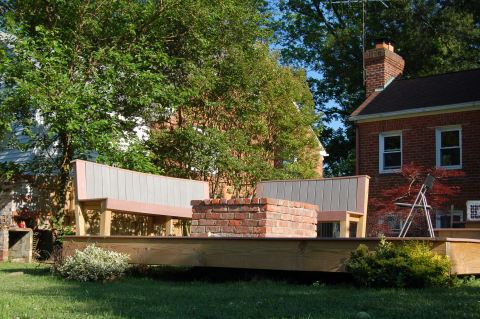
We poured a concrete pad on the ground, which was about 18 inches below the deck floor. We used concrete block to build the firepit walls up to the deck level. From that point we used 4″ block for the interior of the firepit and brick for the exterior.
I don’t think we would ever try to lay brick for something structural or taller than a few feet. But for a firepit that is only a couple feet tall it looks great.
The Deck that Ate Our Yard
May 16, 2010
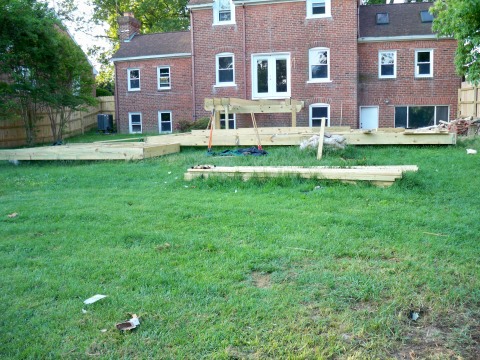
Building a deck was high on our list of things to do. The big things we wanted to include were different levels, space for a large table (or two), and a firepit. We had to go big to fit all that in. I think the deck will always be a work in progress – a year after we first built it we are still making changes. We added steps from the lowest level to the yard a few weeks ago and right now are in the process of redoing the railing around the upper level.
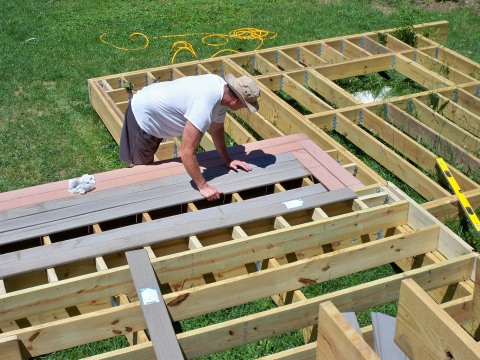
The deck is framed with 2×12’s and 2×8’s. With the exception of the upper level of the deck we did not use any posts – we leveled all our pilings with each other. From there it was easy to lay our 2×12’s down and start framing.
We used composite decking for the floor. We went with the Home Depot house brand, Veranda. It was almost half the price of the Trex. The downside is that the colors are not as rich. We did the deck in gray with red trim. A year later the colors have faded a lot – I’m not sure if this is common to all composite decking or only the cheaper brands.
Living Room
May 16, 2010
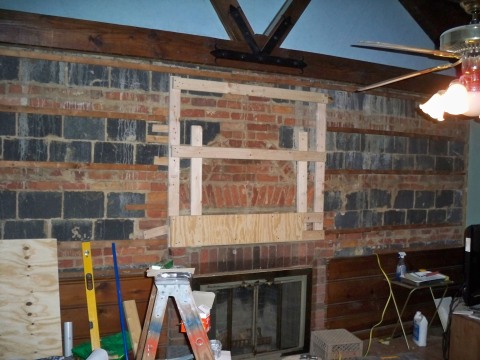
The living room has been a work in progress for a long, long time. It started out with wood paneling everywhere. We eventually decided to paint the paneling from the chair rail down white. We removed the rest. We bumped out an area above the fireplace to mount a TV and rebuilt the mantle using pieces of the old crown moulding.
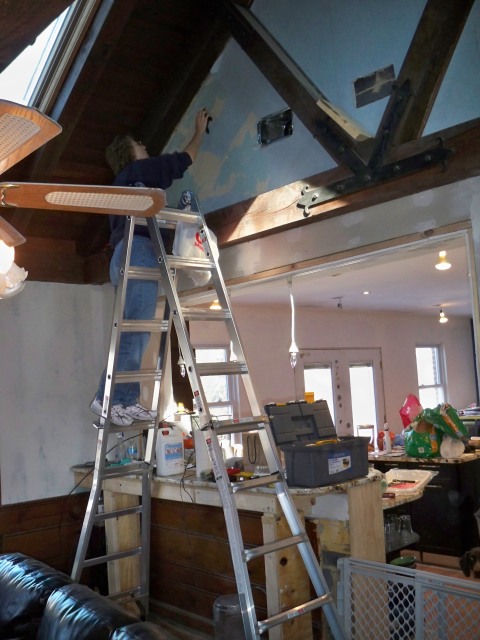
The living room has been one of the biggest projects we have tackled. The triangles on the upper parts of the walls had to be drywalled, mudded, painted, and trimmed with moulding.
I wired the room for surround sound. All the wires to the TV are hidden in the walls. There are coax and HDMI hookups for the cable box, DVD, Stereo, etc on each side of the room. In hindsight I should have run all the wires to a media closet in another room. Live and learn.
Kitchen Backsplash
May 16, 2010
We thought we’d go a little fancy with the backsplash. Rather than doing something traditional like granite or ceramic tile we went with stainless steel and copper subway tiles. Copper was used in the kitchen with a stainless steel detail above the stove. We continued the tiles around the corner, over the breakfast bar, and into the living room. As the tiles wrap around the corner they switch from copper to stainless steel. The copper did not look too hot with the purple living room walls.
Cutting the tiles was not something we had give much thought to. We ended up buying a bandsaw for the project. The most difficult part was where the tiles wrapped around the outside corners. I notched a triangle in the top and bottom edges of the tile and cut away some of the backing. This let me bend the tiles in a fairly straight line.
Since you don’t need grout with the metal tiles there is no way to hide areas where tiles don’t meet up perfectly. Most of the tiles fit together nice and snug. Just don’t get too close and you won’t notice the tiles with spaces between them…
Who needs a plumber?
December 21, 2008
The plumber wanted $700 to hook up our sink/dishwasher/stove. $700! You’ve got to be kidding me. The pipes were already run to the proper places. They just need to put the valves on them. $700! My Dad had done this sort of stuff before so he came over and we set to work…

- This is the “Before” shot. That black piece of fabric is a fireguard – keeps us from setting the cabinet on fire when soldering the pipes.
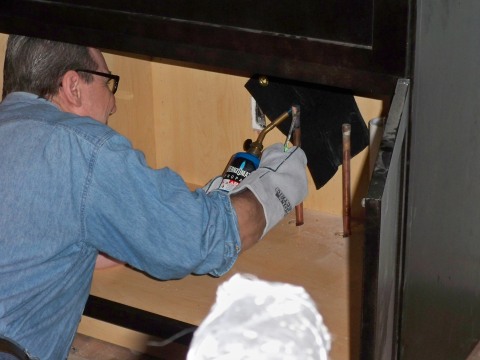
- Getting started…

Tight fit!

We had to use a car jack to get the garbage disposal into position.
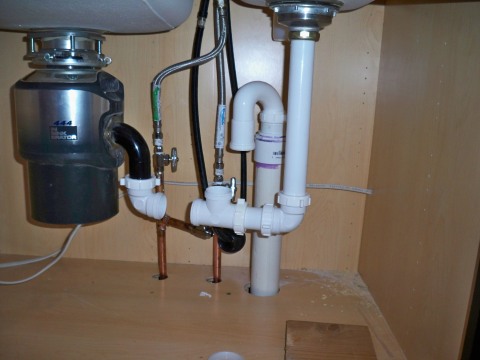
My first attempt at setting up the drain. It leaked... a lot. So I took it apart and started over.
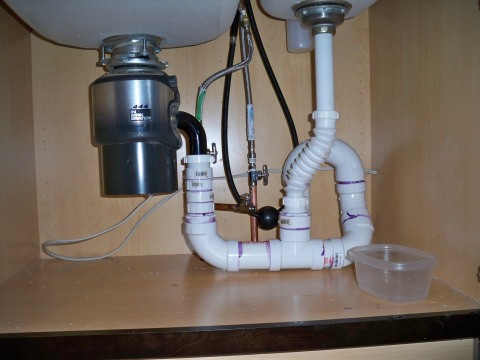
My second attempt at a drain worked much better. This is the "After" shot.

Hooray! We have running water in the kitchen for the first time in two months!
Counters!
December 20, 2008
Today our countertops were installed. The whole process was complete in less than two hours. Once the counters were in we had a plumber come by to hook up the sink, garbage disposal, dishwasher, and stove. Unfortunately he wanted WAY too much money ($700!). The whole job can’t be that difficult – the pipes and drain have already been run to the inside of the cabinet. They just need to be hooked up! So tomorrow I am going to try my hand at a little plumbing. Hey, how hard can it be?

I built this breakfast bar. If it is strong enough to hold me it should be strong enough to support the granite countertop.

One of our granite slabs in the warehouse. This will eventually be our island.
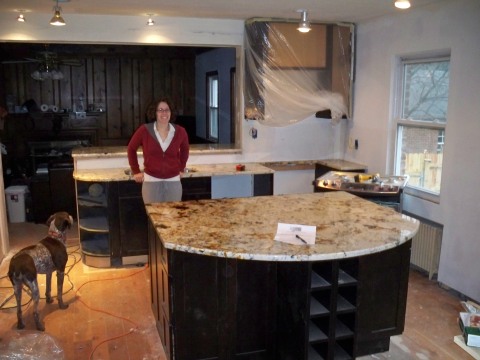
It is a wondeful feeling to finally have counters and cabinets after two months without.
Cabinets are Installed!
December 13, 2008
Today Timmy came over and installed our cabinets for us. He used to do it professionally – we got a top dollar installation job for free. Not a bad deal at all! It was an incredible amount of work. I’d never seen cabinets installed so I had no idea how the process would go. Each unit was painstakingly leveled using shims underneath and around the edges. Once the first unit was attached to the walls and floor all the others were made to be perfectly level with it.
On Monday the guys from Masterpiece Granite & Marble (“MGM”) are coming out to take the measurments for the countertops. We are getting granite countertops. About two months ago we went to their showroom and put a deposit on two pieces of granite that we liked. Once MGM has the measurments they’ll make a template and cut our countertops. They say they can have them installed on Friday!

Watching the master at work

I Conquered the Fridge!
December 13, 2008
The refrigerator thought it had me beat but it underestimated my ingenuity. I tore off the drywall on one side of the alcove. The extra 1/2 inch of space this provided was juuuust enough to allow the fridge room to slide in easily. It is now perfectly situated in the wall. The fact that it is such a tight fit worked to our advantage – it gives it a professional “built in” look.
It wasn’t until today that I realized that magnets do not take to stainless steel refigerators. Very unfortunate.
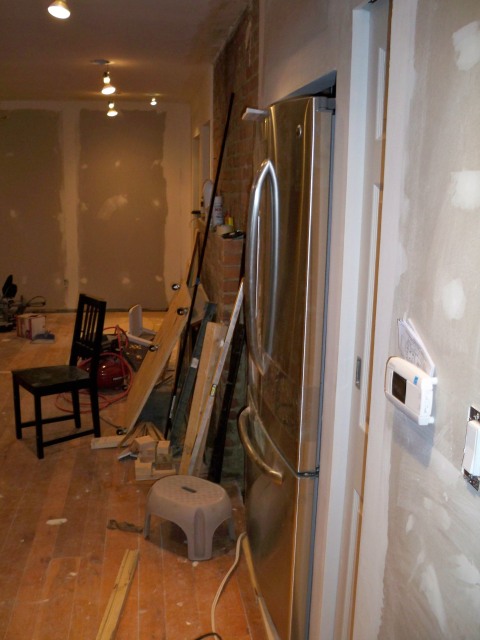
- Lookin’ pretty slick
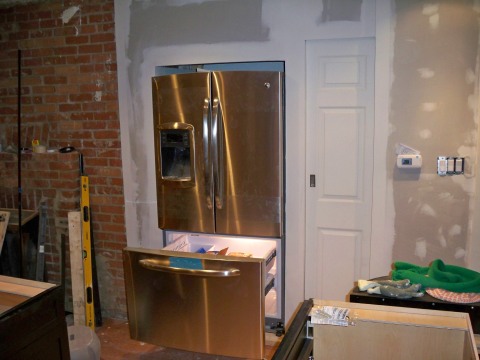
“Measure Twice, Cut Once”… I should have followed this rule
December 8, 2008
I made a bit of a mistake. The alcove for the fridge is slightly too small. It’s big enough at the front of the alcove – but it narrows as it goes back. At the rear it is about 1/2 inch too small for the fridge. This made for a very awkward attempt at stuffing a big fridge into a small space. We’re going to have to figure out a way to make the alcove 1/2 inch wider at the rear.
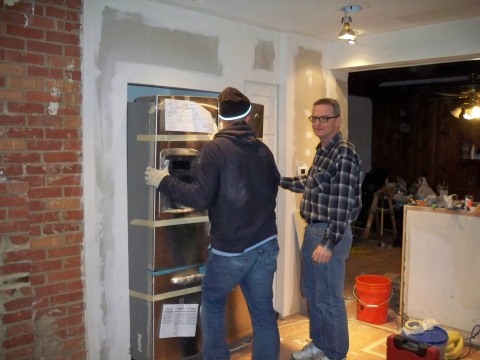
This isn't working... it's wedged in there pretty tight!

"I don't understand. I could have sworn it would fit."
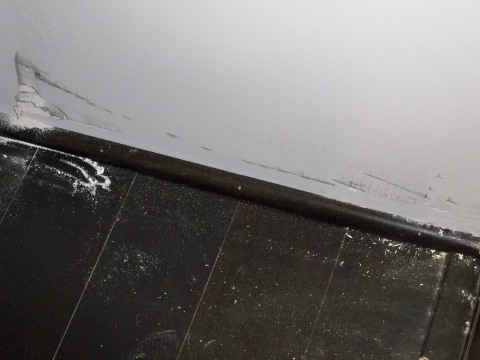
Miriam's nice paint job was ruined by the fridge
Light Switches
December 7, 2008
Light switches have been installed. It’s the little details that make all the difference.
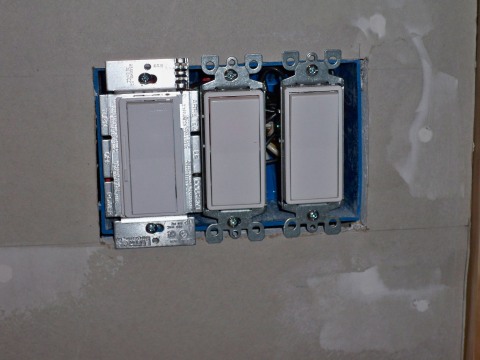
Main lights (with a dimmer!), accent lights, and hanging lights over the bar
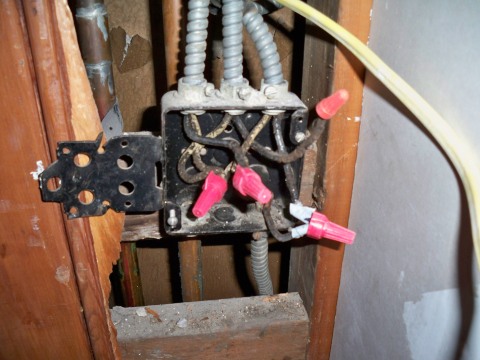
I took this mess of wires from 1945....

...and turned it into this slightly more modern mess of wires

